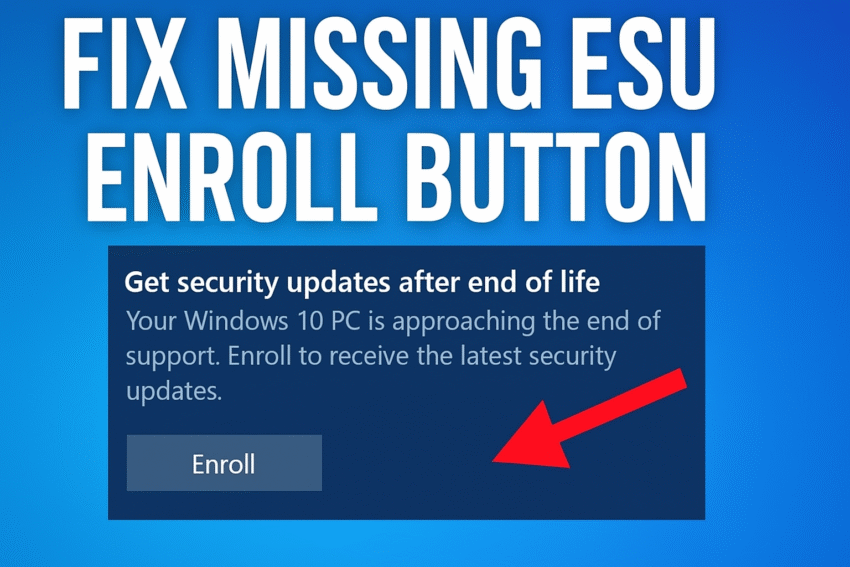
If the Windows 10 ESU “Enroll” option is missing, it is most likely because the enrollment rollout is staggered, your computer lacks a recent update, or you are using a local account. You can try waiting for the rollout, ensuring your system is fully updated, or forcing the option to appear with a command-line fix.
Prerequisites for enrollment
To enroll in the consumer ESU program, your device must meet these requirements:
- You must be running Windows 10, version 22H2 (Home, Professional, Pro Education, or Workstations edition).
- You must have the latest Windows updates installed, including the September 2025 Security Update (KB5063709) or later.
- You must be signed in with a Microsoft account. The ESU is tied to your account, so if you are using a local account, you will be prompted to sign in to your Microsoft account during enrollment.
- Your PC must not be joined to an Active Directory domain or managed by Mobile Device Management software (e.g., Intune).
Method 1: Wait for the rollout
Microsoft is rolling out the enrollment option in phases to all eligible devices. If your PC meets the prerequisites, you may just need to wait a few days or weeks for the option to appear automatically in Windows Update.
- Navigate to Settings > Update & Security > Windows Update.
- Turn on the “Get the latest updates as soon as they’re available” toggle.
- Click Check for updates. This will ensure your device has all necessary updates and might trigger the ESU option.
Method 2: Manually force the enrollment option
If waiting doesn’t work, you can force the option to appear by manually running a command in Command Prompt.
- Open the Start Menu, type
cmd, right-click Command Prompt, and select Run as administrator. - Enter the following commands, pressing Enter after each one:
sc.exe config DiagTrack start= autosc.exe start DiagTrackreg.exe add "HKLM\SYSTEM\CurrentControlSet\Policies\Microsoft\FeatureManagement\Overrides" /v 4011992206 /t REG_DWORD /d 2 /f
- Restart your PC.
- Open Command Prompt as an administrator again and enter this command:
cmd /c ClipESUConsumer.exe -evaluateEligibility
- Restart your PC again.
- Go to Settings > Update & Security > Windows Update. The “Enroll now” option for ESU should now be visible.
Method 3: Temporarily disable TPM (if applicable)
Some users with computers that are also compatible with Windows 11 have found that temporarily disabling the Trusted Platform Module (TPM) can force the ESU option to appear.
- Reboot your PC and enter your BIOS/UEFI settings. The key to enter this varies by manufacturer (common keys include F2, F10, F12, or Del).
- Navigate to the Advanced Security or Trusted Computing section.
- Find the TPM 2.0 option and disable it.
- Save your changes and exit, then reboot your PC.
- Go to Settings > Update & Security > Windows Update. The enrollment option should now appear.
- Enroll in the ESU program, then go back into your BIOS/UEFI to re-enable TPM.