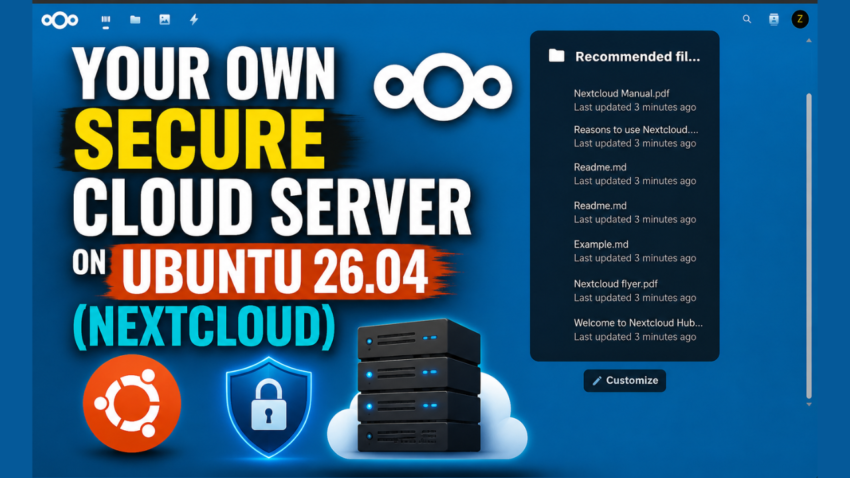
Nextcloud is one of the best self-hosted cloud platforms for anyone who wants full control over their files, privacy, and data. Instead of relying on third-party services like Google Drive or Dropbox, Nextcloud allows you to build your own secure cloud server directly on your Ubuntu system.
In this guide, you will learn how to install Nextcloud on Ubuntu 26.04 step by step. We’ll cover everything from installing the required packages and configuring the web server to setting up the database and accessing your cloud storage through a web browser.
By the end of this tutorial, you’ll have a fully functional private cloud server that you can use to store files, sync devices, share documents, and even collaborate with others securely from anywhere.
Commands
Install PHP
# apt install php8.5-{fpm,xml,intl,common,curl,mbstring,mysql,gd,imagick,zip} bzip2 unzip
Install and Configure Nginx
# apt install nginx -y
# nano /etc/nginx/conf.d/nextcloud.conf
Insert the following into that file.
Restart Nginx
# systemctl restart nginx
Install MySQL Server
# apt install mysql-server
Create a Database
mysql> CREATE DATABASE nextcloud;

mysql> CREATE USER 'nextcloud'@'localhost' IDENTIFIED BY 'm0d1fyth15';

mysql> GRANT ALL PRIVILEGES ON nextcloud.* TO 'nextcloud'@'localhost';

mysql> FLUSH PRIVILEGES;

mysql> \q
Download NextCloud
https://download.nextcloud.com/server/releases/