In the digital age, buying a domain is an essential step for establishing a strong online presence. Whether you’re an individual or a business, a domain is your unique identity on the web. It’s the foundation upon which you can build your website, launch your online store, or create your blog. However, if you’ve never purchased a domain before, the process may seem daunting. In this article, we’ll break down the steps in how to buy a domain name so you can get your website up and running in no time.
Step 1: Choose a domain registrar
To buy a domain, you need to find a domain registrar. These companies act as intermediaries between you and ICANN (Internet Corporation for Assigned Names and Numbers). There are many different domain registrars with varying prices, features, and benefits. Some of the most renowned ones are:
When selecting a domain registrar, consider factors such as pricing, customer service, domain management tools, and additional services. Each registrar may have different prices and fees for the same domain name, so it’s worth shopping around and comparing prices before committing to a specific provider.
Step 2: Choose a domain name
Once you’ve selected a domain registrar, it’s time to choose your domain name. Your domain name is the web address that people will use to find your website, such as www.yourdomain.com. It’s essential to choose a domain name that’s memorable, easy to spell, and relevant to your brand or business. Consider the following tips when choosing a domain name:
- Keep it short and sweet: Shorter domain names are easier to remember and type, so aim for a name that’s no longer than 15 characters.
- Use keywords: Incorporating relevant keywords into your domain name can help with search engine optimization (SEO) and improve your website’s visibility in search results.
- Make it easy to spell: Avoid using unconventional spellings or special characters that may confuse visitors.
- Choose the right domain extension: There are numerous domain extensions available, such as .com, .net, .org, and .co. Consider the nature of your business and your target audience when selecting a domain extension. .com is the most popular and widely recognized, but other extensions may be more relevant for specific industries or regions.
Step 3: Check domain name availability
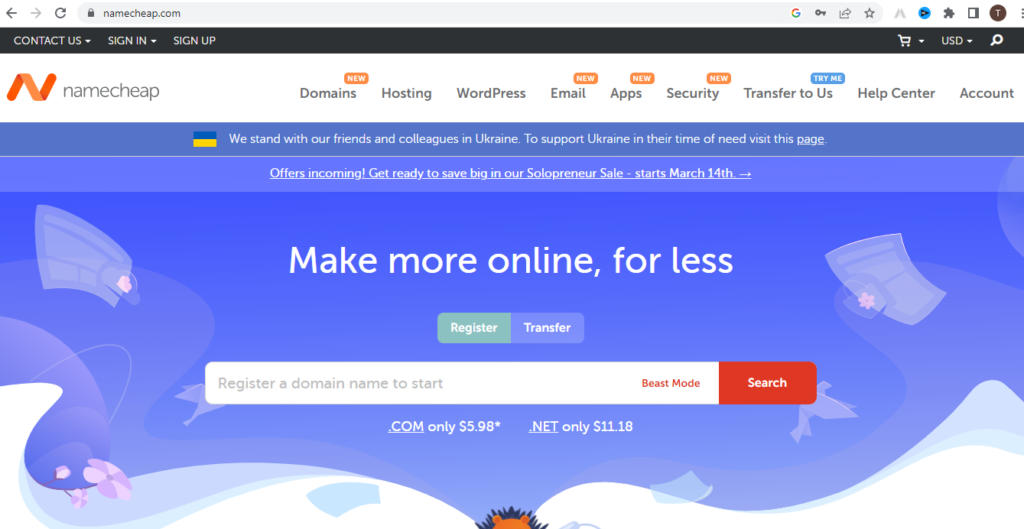
Once you’ve chosen your domain name, it’s time to check its availability. Most domain registrars such as Namecheap have a search function that allows you to see if your desired domain name is available. Simply enter your desired domain name into the search bar and the registrar will show you if it’s available, and if not, suggest alternative domain names that are available.

It’s worth noting that some domain names may be more expensive than others, particularly if they’re in high demand or have been previously registered. If your desired domain name is already taken, consider using a different domain extension or adding a word or phrase to the domain name to make it unique.
Step 4: Choose a hosting provider
Now that you’ve secured your domain name, it’s time to choose a hosting provider. Web hosting is a service that allows you to store your website’s files and data on a server, making your website accessible on the internet. There are numerous web hosting providers to choose from, each with different pricing, features, and benefits. Some popular web hosting providers include:
- Bluehost
- HostGator
- SiteGround
- DreamHost
- A2 Hosting
- InMotion
When choosing a web hosting provider, consider factors such as pricing, customer support, server reliability, security, and scalability. You’ll want a hosting provider that can meet your current needs and can accommodate your website’s growth in the future.
To purchase your hosting plan, follow your hosting provider’s instructions for selecting your plan, choosing any additional features or services you may need, and completing the payment process. Some hosting providers may offer a free domain name with the purchase of a hosting plan, so be sure to check for any special offers or promotions.
Step 5: Connect your domain name to your hosting account
After you’ve purchased your domain name and hosting plan, you’ll need to connect your domain name to your hosting account. This ensures that your website can be accessed by visitors when they enter your domain name into their web browser.
To connect your domain name to your hosting account, you’ll need to update your domain’s DNS (domain name system) records. This is typically done through your domain registrar’s control panel, and you’ll need to enter the DNS records provided by your hosting provider.
Step 6: Install and set up your website
Once your domain name and hosting plan are connected, it’s time to install and set up your website. This will vary depending on the type of website you’re creating and the tools and software you’re using.
If you’re using a content management system (CMS) such as WordPress, you’ll need to install the CMS on your hosting account and configure it to your liking. You may also need to install any plugins or themes that you want to use.
If you’re using a website builder such as Wix or Squarespace, you can use the built-in tools to create your website without needing to install any software.
Step 7: Test your website
Before launching your website, it’s important to test it to ensure that everything is working as intended. This includes testing links, forms, and any interactive elements on your website. You may also want to test your website on different devices and browsers to ensure that it’s responsive and looks good on all platforms.
Once you’ve tested your website and are satisfied that everything is working properly, it’s time to launch your website. This involves making your website live on the internet so that visitors can access it.
Step 8: Maintain and update your website
Congratulations, you’ve successfully bought and launched your domain name! However, the work doesn’t end there. To ensure that your website continues to be successful, you’ll need to maintain and update it on a regular basis.
This includes tasks such as backing up your website, updating software and plugins, monitoring website traffic and analytics, and adding new content to keep your website fresh and engaging.
Conclusion (How to buy a Domain Name and Create Your Website)
Buying a domain name and creating your first website may seem intimidating at first, but it’s actually a straightforward process that can be completed in just a few steps. By choosing a reputable domain registrar and hosting provider, selecting the right domain name, and following the necessary steps to connect your domain name to your hosting account and launch your website, you can establish a strong online presence and reach your target audience.


